Today we would like to share with you how to grow pea shoots at home.
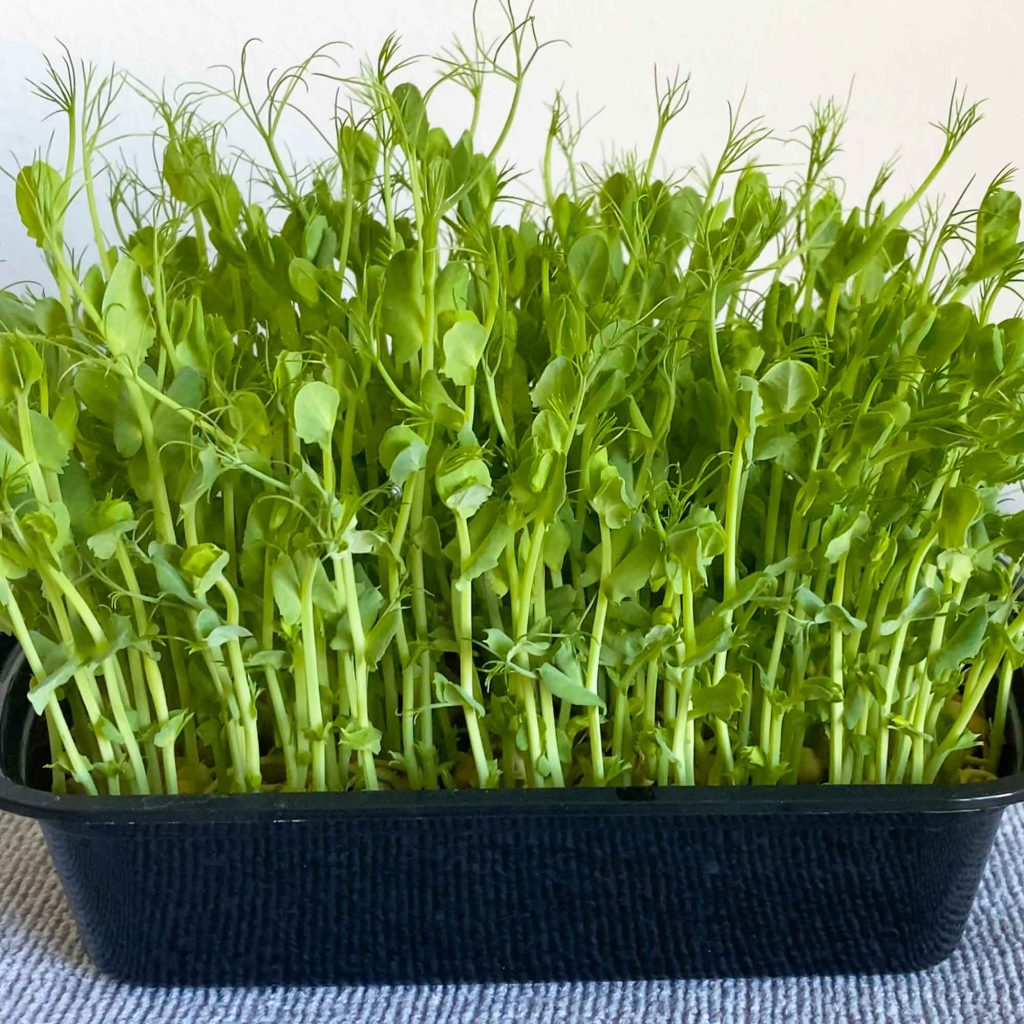
Pea shoots are such nice veggies that pack nutrients. It is a versatile ingredient and so delicious!
You can eat it raw, adding it to your salad. Or just sautee them with garlic, and add some salt to taste. I like to add them to my ramen noodle soup.
Some supermarkets have it on sale, but it will be so much cheaper when you grow by yourself.
The Seeds
First, let’s talk about the seeds. There are 2 types.
- You can buy this kind of seeds from the store.
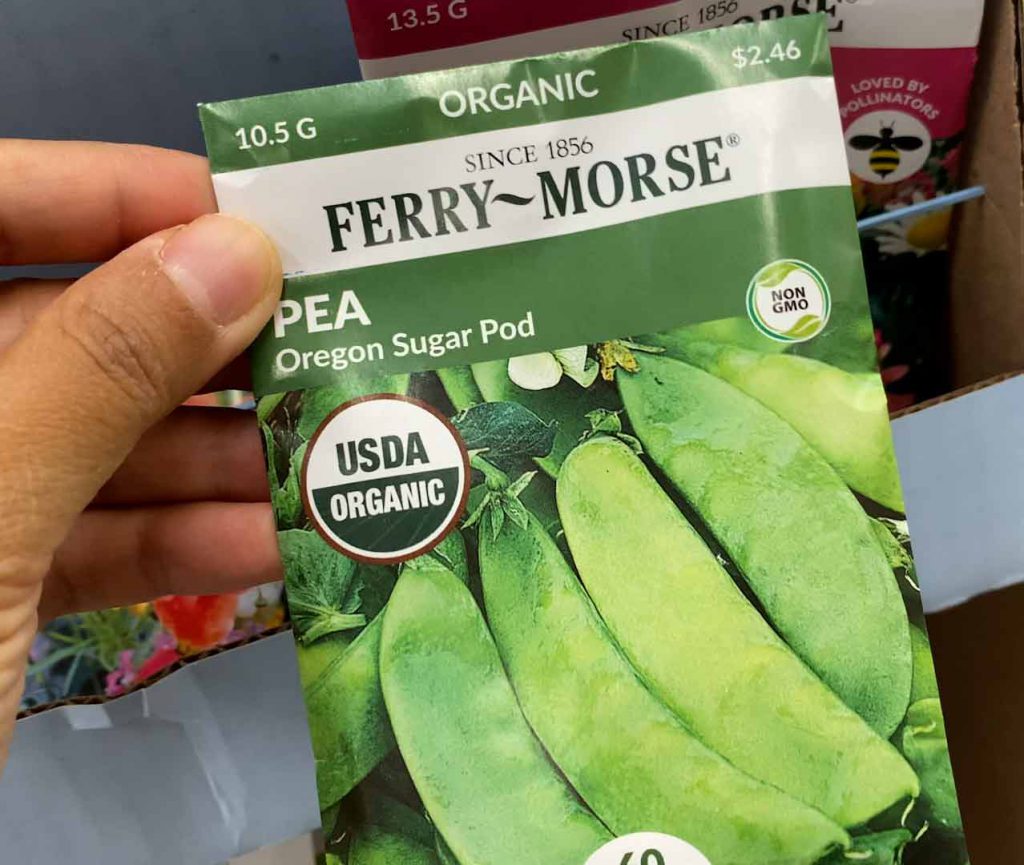
Grow them in the soil and install a trellis that allows the pea plants to climb. During the process, you can pick the top tender part of the stems (pea tendrils), that’s one type of pea shoot. Plus later on, you can harvest the pea pods.
2. The seeds we use, are these big packs of dried peas from the Indian store.
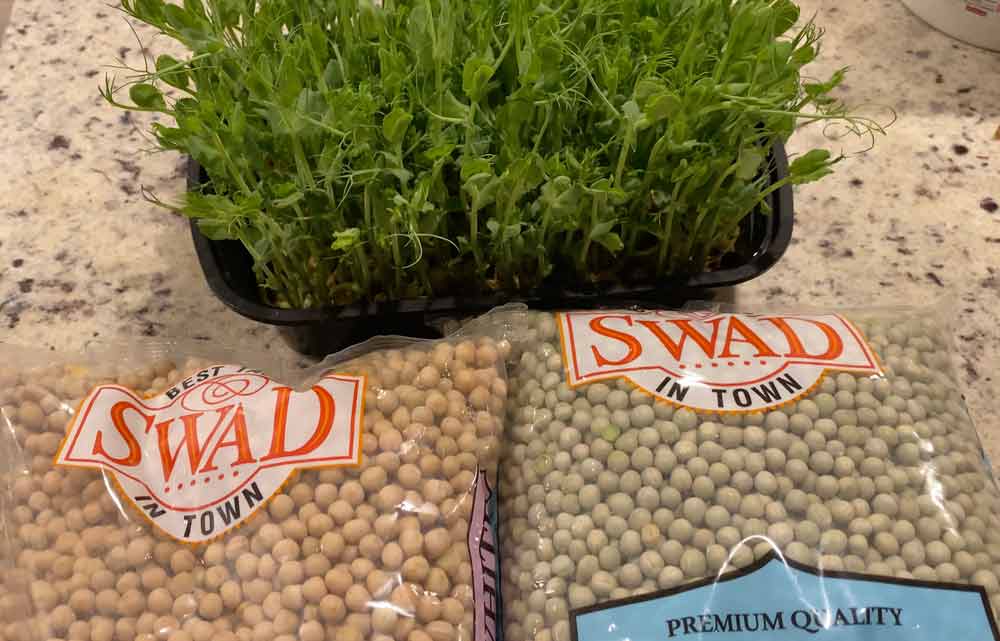
It was like $4 for 2 lb of peas, making them very cheap to grow and last for a long time.
For this type of seeds, you can harvest them once they are about 4 inches long. But not wait for too long though. Otherwise, they will be so tough to eat.
If you are curious, here is how they look like if you never harvest (for about 3 months)
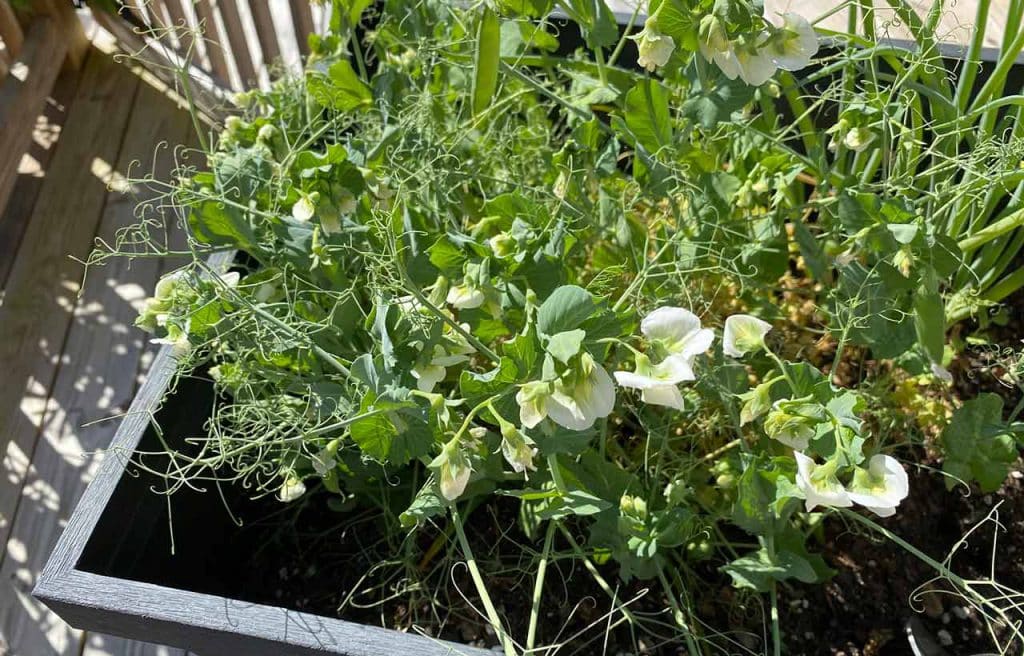
There was once, we grow them in the soil and barely took care of it. Rainwater only… After 3 months, when we finally noticed, they’ve already grown these cute little flowers, and some pea pods!
Since the pea was very young, we ate some of them raw. It was sweet and quite tasty!
But the stems became very tough at this point and impossible to chew. So if you want to have pea pods and pea tendrils simultaneously, grow the previous type of seeds.
How to grow?
There are 2 different ways to grow them, with soil or without the soil, aka hydroponics. Both of them take about 2 weeks to harvest.
For me, I still prefer to grow it indoors with water only, aka hydroponics. Especially during the summer, sometimes I forgot to water it, the plant will be dried out so quickly…
But if you grow it indoors, even forget to water it for a day, it can still survive.
Now let’s focus on the hydroponics method. You can watch the video below for more detail.
Container
You can literally use any type of flat container to grow it. I like to use plastic food containers. If you happened to have a box from the takeout just clean it and you won’t even need to spend a penny for it.
I also found out later on that even just the lid can also be used.
The pea shoot is kind of like spinach. Even if it looks a lot of volumes when it is raw, once cooked the size will decrease so much. This plastic box we used was for 1 serving only. If you need a larger portion, you can use a baking sheet instead.
On the internet, most of the instructions are using a strainer to grow it, or lay a paper towel. After trying it a couple of times, I found out that you don’t need any of those.
Using other methods may make the water-changing process easier, but without it will be ok. We will explain later.
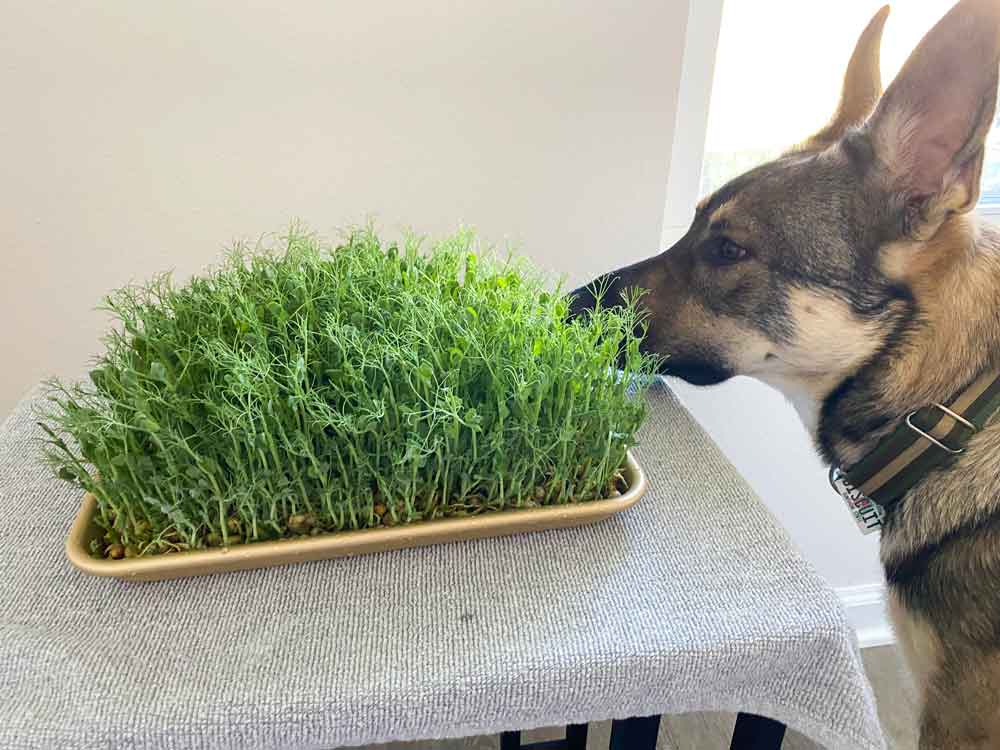
Method
To grow the pea shoot, add the dried pea to the container. Fill only ⅔ of its surface, and add water to soak it overnight. The next day the peas will absorb the water and become bigger and will be covered the surface fully.
Now all you need to do is just water it every day. and remove the excess water.
You can use a strainer to catch the peas at the beginning. Once they are rooted, no need for it anymore and it will be very easy to pour the water out. That’s why you don’t actually need anything fancy to grow them.
Place near the window for sunlight. Change water at least once per day.
Wait until it becomes about 4 inches long, it is time to harvest!
Cut it above the first leaf. Like doing a haircut. There will be new shoots coming out again. Keep watering it daily and you can harvest for at least twice.
Here is a side-by-side comparison of the second time harvest and the first time harvest.
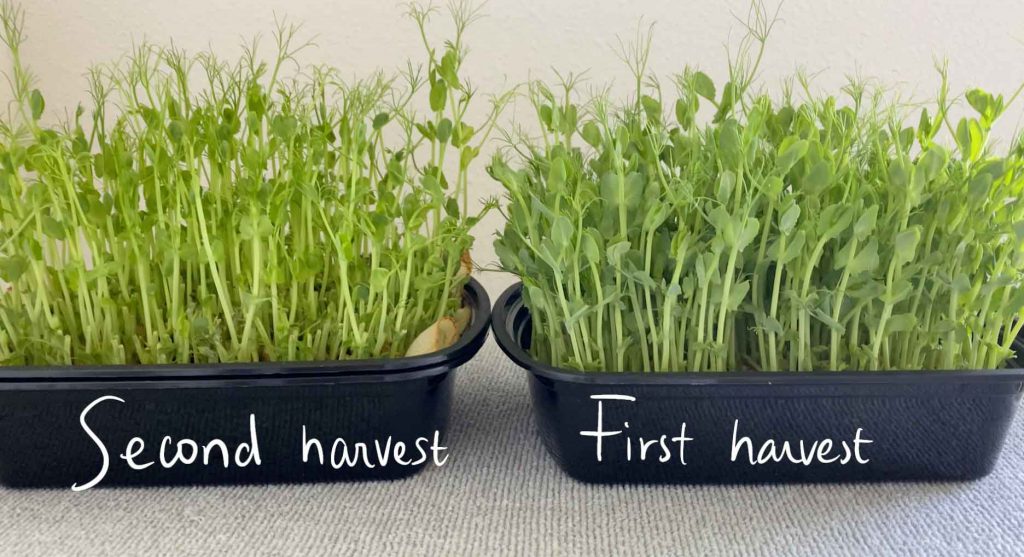
Since all of the nutrients are coming from the seed, which is the pea, the second time is weaker than the first one. After the second harvest, this remaining part can go to the compost.
Voila, that’s how we grow pea shoots at home. It is cheap and convenient. They are just some nice pet-friendly indoor plants that you can put next to the window.

